
Linux Shell Customisation: Part 2/2 (Zsh)
This week, let's talk about Zsh, an easy-to-use and feature-rich alternative to Bash!

Hey there! I hope you’re doing okay on that side of the screen!
Last week, I told you how to customise the Bash shell. We learnt what a shell is, how to edit config files to change our Bash prompt, and also discovered some frameworks that ease the process and introduce new functionality.
This week, let’s take a look at another shell, Zsh.
1. Why another shell?
Now, you might be wondering, what’s the need for another entirely new shell, when bash exists? Isn’t it good enough? Well, even though Zsh is about the same age as Bash, it was made with more interactive use cases in mind. This is why it packs in a lot of useful features like auto-complete, spelling correction, etc. by default, which makes it a better choice in a lot of cases.
2. What is Zsh?
Zsh (Z Shell) is a powerful and versatile Unix shell designed for interactive use and scripting. It's an extended Bourne shell with many improvements and features, making it a popular choice among developers and power users. Like Bash, it’s also a great scripting language and offers more advanced scripting features compared to other shells, making scripts simpler and more efficient.
Here are some interesting features it gives you by default:
It offers intelligent autocompletion, not just for file names but also for commands and their arguments. It can even handle remote file paths over SSH! Trust me, it’s a game changer if you’re a server admin and frequently use SSH.
It supports advanced globbing techniques, allowing for more flexible file matching.
It has advanced history management capabilities, such as sharing command history across multiple terminal sessions, unlike Bash, where the history is only stored (by default) on a per terminal basis.
Now that we know what zsh is and why we should care about it, let’s understand how to install & use it.
3. Install Zsh
You can find Zsh in almost all Linux repositories. Use the 1st command if you’ve installed Ubuntu Server using my tutorial:
$ sudo apt install zsh        # Ubuntu Server or Debian based distros
$ sudo pacman -Sy zsh         # Arch Linux
$ sudo dnf install zsh        # Fedora
Once installed, it should run the initial setup. If it doesn’t, enter:
autoload -Uz zsh-newuser-install; zsh-newuser-install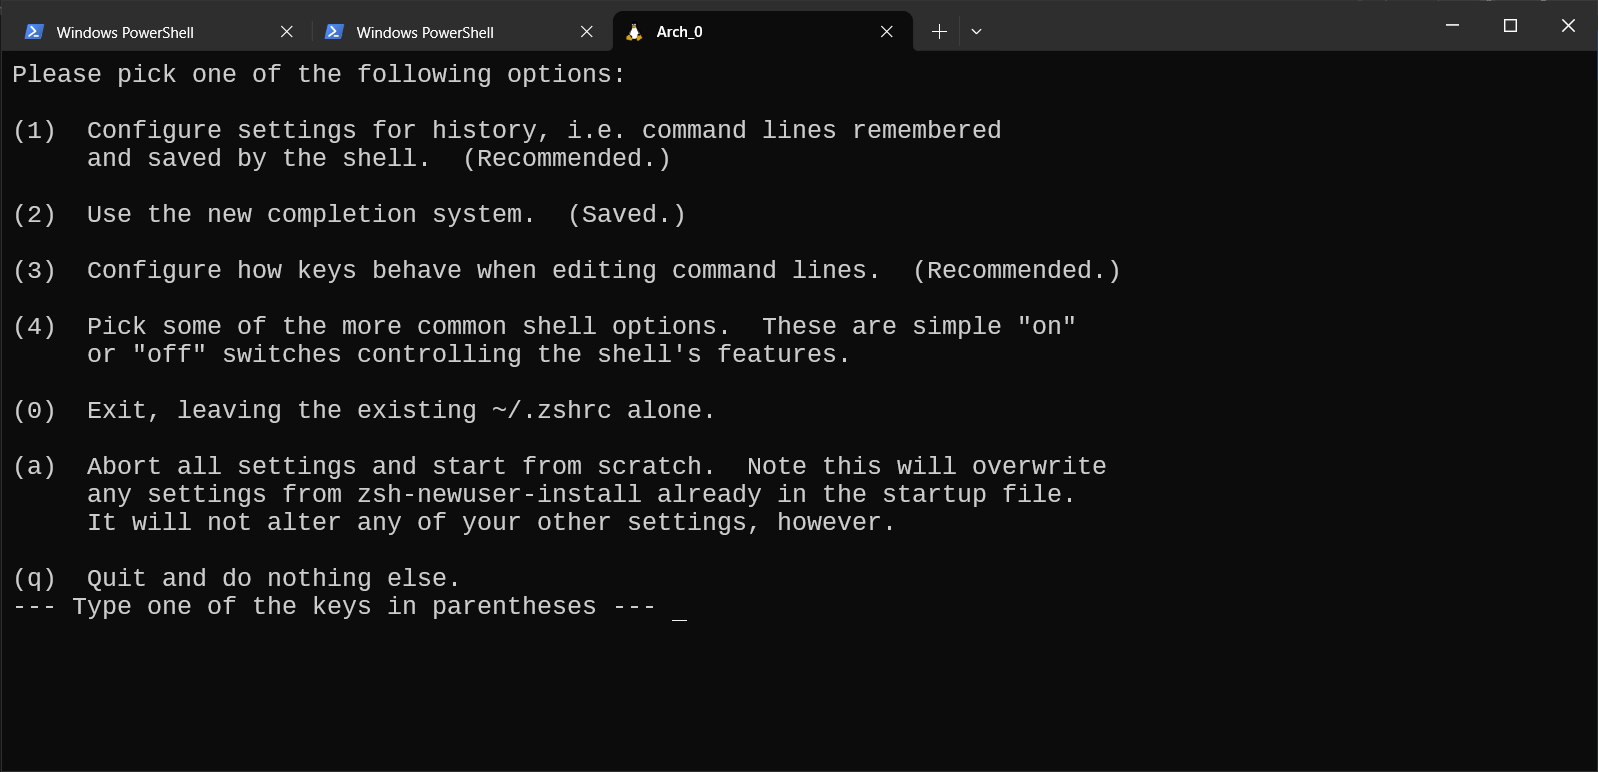
a. Initial Setup
Let’s go over the main options real quick:
Configure settings for history: Configure how your command history is saved. The more command history Zsh has, the more accurate Zsh becomes. The default options are a pretty good balance between file size & functionality.
Use the new completion system: Enable it / leave it enabled.
Configure how keys behave when editing command lines: You don’t need to configure this if you don’t know what Vi or Emacs are. However, if you have a preference, you can set it to enable a particular configuration.
Common shell options: This section contains quick toggles that you can turn on/off to your liking. The options are pretty self-explanatory.
After you’ve configured the options, enter `0` to save them. All changes you made take effect immediately.
b. Change from Bash → Zsh
Zsh should be the default shell that runs, assuming you completed the setup successfully. If it doesn’t, run this:
$ chsh -s /bin/zsh $USERThere’s another way to do it. However, it’s going to start Bash first and then Zsh, so it’s not recommended over the above option.
Just put this line at the end of `~/.bashrc`:
exec zshClose and reopen the terminal, and that’s it!
4. Customize Zsh
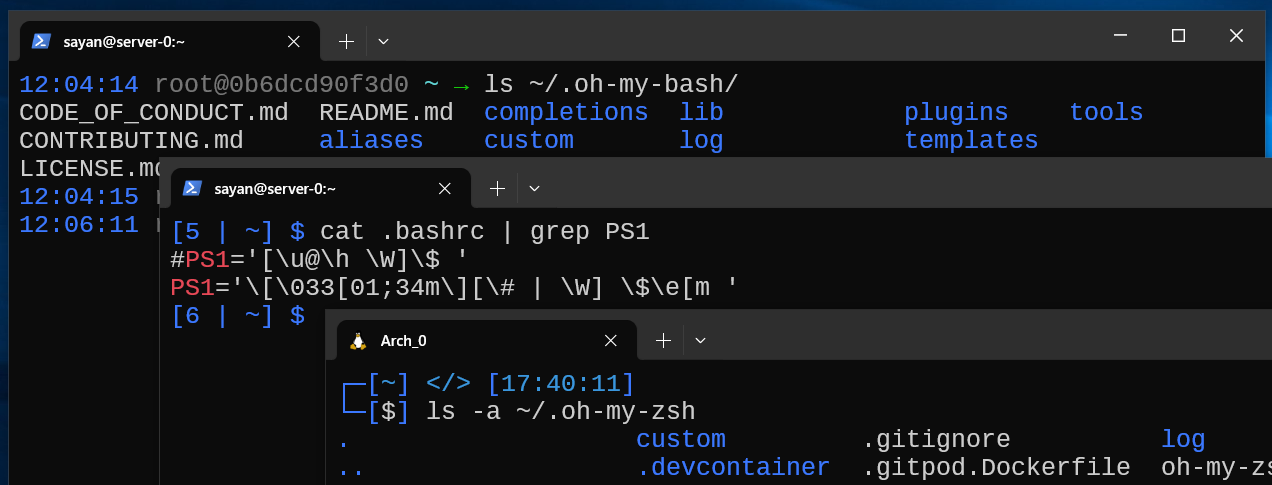
a. Editing the configuration: `.zshrc`
This file has the same exact purpose as `.bashrc` in case of Bash. To recap, it’s a script that stores your shell configuration, and autoruns every-time you open a new shell (or terminal). You may want to read this section to know how to edit files.
Here are some interesting options you can change:
Set an Alias: This is one of the easiest to do. You can setup an alias to create shortcuts to commands you use frequently. Just be careful with spaces
alias ss='systemctl suspend'  # Suspend the computer
alias fm='mc --no-subshell'   # Run Midnight Commander
Change basic configuration: You will find a lot of options that improve the functionality of the terminal. To use any of them, just uncomment the line, and change the value if needed.
# Uncomment the following line to enable command auto-correction.
#ENABLE_CORRECTION="true"     # Commented
ENABLE_CORRECTION="true"      # Uncommented
The options here are pretty self-explanatory. So feel free to customize them to your liking.
When done, enter in succession: Esc → W → Q → press enter, to save & exit the file.
Finally, run `source ~/.zshrc` to update the prompt.
b. Using a framework: `oh-my-zsh`
If you want additional customization, you can utilize third-party add-ons to further enhance your terminal. These add-ons can introduce features such as auto-complete, auto-correct, custom themes, and more. In this section, I will discuss oh-my-zsh.
This amazing utility, available on GitHub, packs in hundreds of powerful plugins and beautiful themes that will greatly enhance the look & functionality of your shell.
i. Installation
Before getting started, make sure `curl` or `wget` or `fetch` & `git` is installed. If not, run this command to install them:
# apt install wget git
[or]
# apt install curl git
[or]
# apt install fetch git
Install using:
a. curl
sh -c "$(curl -fsSL https://raw.githubusercontent.com/ohmyzsh/ohmyzsh/master/tools/install.sh)"

b. wget
$ sh -c "$(wget -O- https://raw.githubusercontent.com/ohmyzsh/ohmyzsh/master/tools/install.sh)"

c. fetch
$ sh -c "$(fetch -o - https://raw.githubusercontent.com/ohmyzsh/ohmyzsh/master/tools/install.sh)"
Note: The existing .zshrc will be renamed to .zshrc.pre-oh-my-zsh, and stored in the same directory, so you can restore it if things go south.
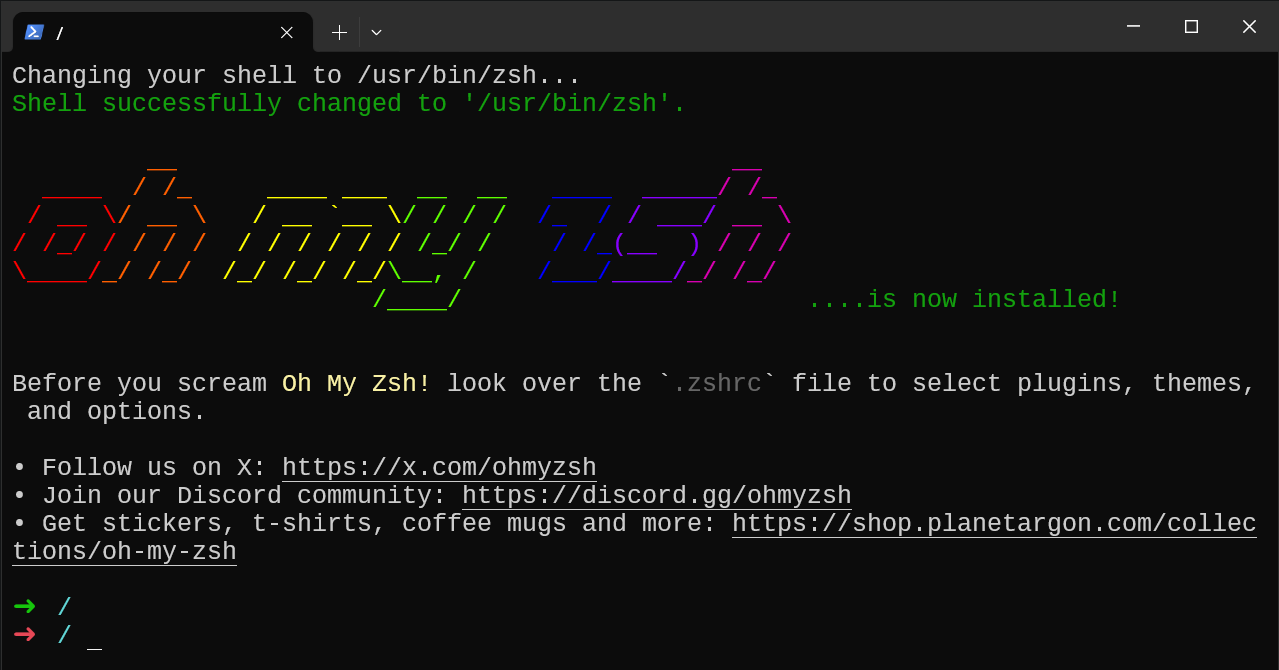
Enter ‘y’ when asked if you want to change the shell.

Shell: Switch to Zsh That’s it! You’ve successfully installed `oh-my-zsh`.

Oh-My-Zsh successfully installed!

ii. Configuration
You can check out the basic file structure. It’s available at `~/.oh-my-zsh/`. You can explore the source code for all plugins, themes, templates, etc. here.

To get started, open your `~/.zshrc` file using a text editor like vim. Instructions for how to use vim are in this section of my previous article.
Here are some options:
Check out the list of available themes on Github. To change the theme, simply put it’s name here.
ZSH_THEME="preferred-theme"You can also add some fun to the mix by setting Zsh to theme the prompt randomly on start! Uncomment the line and put the list of your preferred themes here:
ZSH_THEME_RANDOM_CANDIDATES=( "preferred-theme-1" "preferred-theme-2" )Note: Mind the spaces in this line! There should be exactly 1 space between `(` and the first entry, and single spaces between subsequent entries. Don’t give unnecessary spaces as it will result in a syntax error.
In other words, just change the values specified. Don’t modify the general syntax.
The best part about these frameworks is that you can easily add external plugins in a few steps. Look for the line that defines enabled plugins:
plugins=(git plugin-1 plugin-2)Oh-My-Zsh comes bundled with a lot of plugins ready for you to use. Check out this list to see what’s available. Alternatively, check the directory `~/.oh-my-zsh/plugins/` for their source code.
If you want something that’s not there, you have to install it manually and then add it to this list.
You can also check other available options. All of them have easy-to-understand descriptions on how to set the values.
Wen done, enter in succession: Esc → W → Q → press Enter, to save & exit the file. Then run `source ~/.zshrc` to update the prompt.
c. Using other tools
Here are some other interesting tools you can check out:
Powerlevel10k: A theme for Zsh that provides a highly customizable and visually appealing prompt. Check it out on Github.
Syntax Highlighting: This plugin highlights different parts of your command (like commands, arguments, variables) with different colors, making it easier to read and debug. To install, use this command:
git clone https://github.com/zsh-users/zsh-syntax-highlighting.git ${ZSH_CUSTOM:-~/.oh-my-zsh/custom}/plugins/zsh-syntax-highlightingThen, simply add `zsh-syntax-highlighting` to the plugins list as mentioned earlier.
Auto-suggestions: This plugin provides command auto-completion based on your command history. To install, use this command:
git clone https://github.com/zsh-users/zsh-autosuggestions ${ZSH_CUSTOM:-~/.oh-my-zsh/custom}/plugins/zsh-autosuggestionsThen simply add `zsh-autosuggestions` to the plugins list as mentioned. This plugin also accepts some configuration parameters, which you can check out here.
Conclusion
In this tutorial, we learnt how to install Zsh and how to configure it (both using the stock `.zshrc` & other tools). Zsh already has a lot of configuration options by default, and the frameworks and tools listed here will definitely help you enhance your experience even further!
Next week, I’ll talk about another interactive shell, fish, which is a lot more recent shell (Estd. 2005). It’s also designed to be user-friendly and smart, just like Zsh. Stay tuned for it!
Until next time, this is me signing off. Happy Learning!